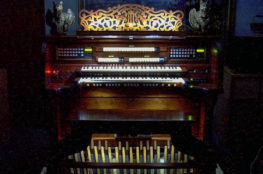
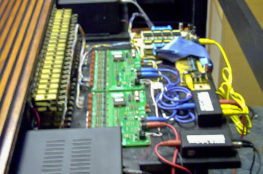
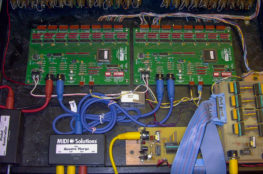
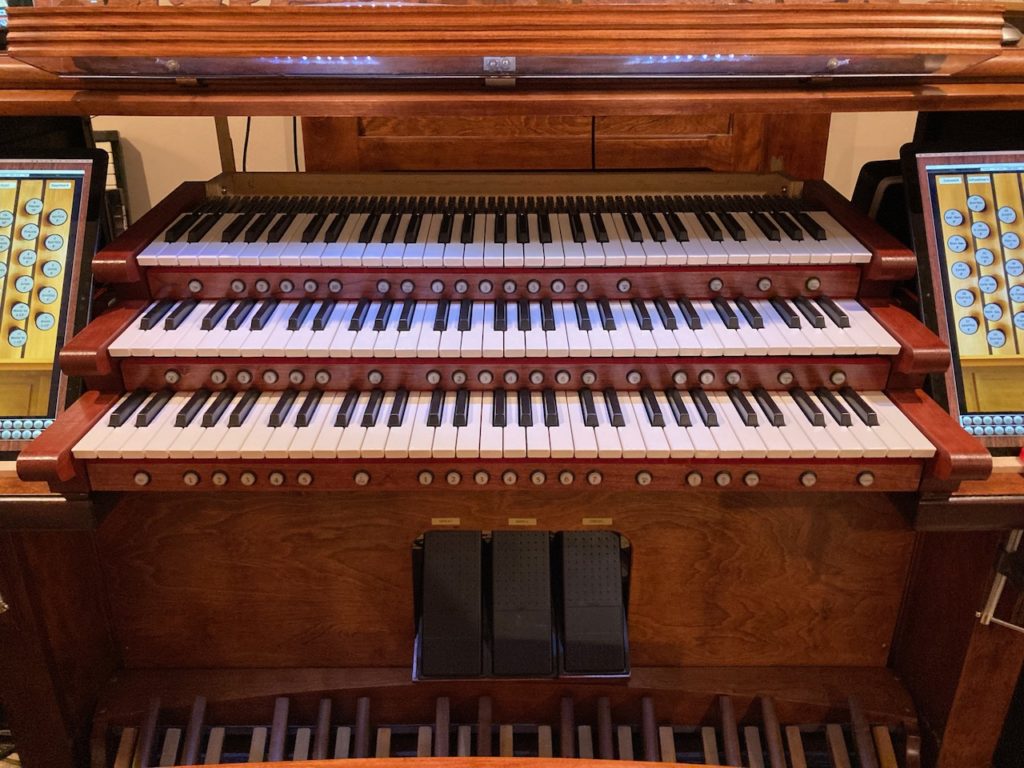
In 2022, I’ve been working on the High Desert Touring Classical Organ project I began with my father 20 years ago. I’ve been updating the instrument to use a computer running VPO (Virtual Pipe Organ) software system, such as Hauptwerk, Organteq, and Sweelinq.
Part of that project has been replacing the original two-manual setup with three manuals, and creating a new thumb piston layout to allow for access to the many console functions that VPOs can provide.
Here’s an example of the work-in-progress:
A Template to Share
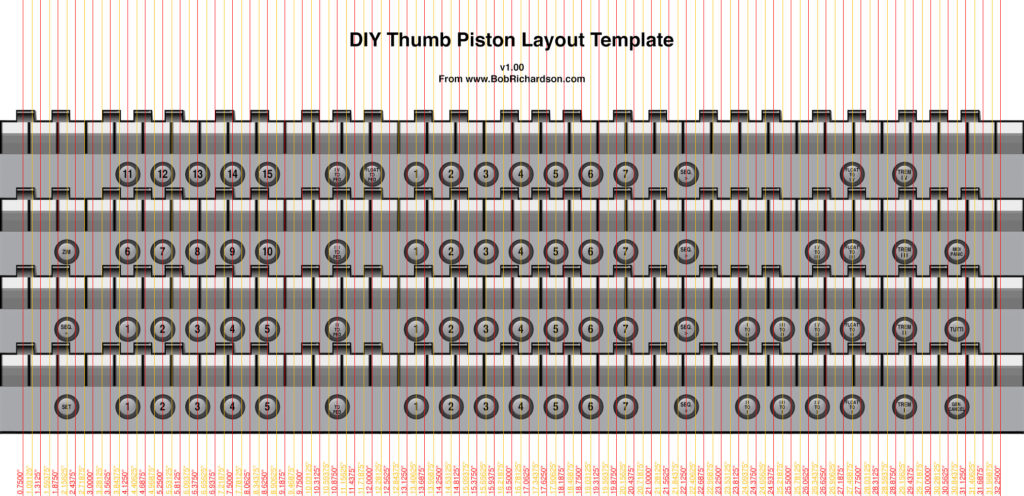
As part of this process, I created a Photoshop template to allow me to experiment with various layouts. I figure that someone else out there may benefit from this template, so I’ve refined it a bit to make it more general-purpose, and I’m posting it here. Below is an example layout for an imaginary four-manual instrument. (For your own project, download the Photoshop template from the bottom of this post, not the JPG shown here.)
Skills Needed
To use this template, you’ll need Photoshop running on your machine. You should know how to enable/disable groups of layers, how to move groups around together (rather than individual layers), and to edit text and change object labels, and how to enable/disable guides.
How-To
Copy the template file to a new filename for your project (that way, you’ll have a fresh original ready to go if you want to start over).
When you first open the template, you’ll see a four-manual instrument. You can simply disable groups to hide various manuals, for example if you have a two manual instrument, hide manuals III and IV. (Manuals in this template are numbered 1-4, starting at the bottom. You can relabel them if you’d rather call them “Great”, “Swell”, etc.
The template is set up for manuals that are 33 inches wide. It assumes that you’ll be working with the AGO specification recommended spacing of 1 1/8″ between piston centers.
You will also see two sets of graphical guidelines, with labeling in inches. The magenta guidelines are set up so that there is a piston at the exact center of the keyboard, 16.5″, with 57 overall piston center positions available (each guide is 1/2 of the AGO spacing of 1 1/8″). The orange guidelines are set up so that the lines are arranged radiating out from the center, but there is no piston in the exact center. There are 56 overall positions here. You can use either system or both. In fact, the example layout provided uses both magenta and orange guidelines. (I used subtle spacing shifts to get around mounting hardware conflicts.)
The regular Photoshop guides are hidden by default but are also defined for all these positions, if you prefer to use them for grid-snapping.
(Apologies to people who would prefer to design in metric. I made my original template for my own project which is in inches.)
The Example Arrangement
Note: I am by no means an expert on thumb piston layouts. Many of the pipe organs I’ve played in the real world had no pistons at all, or very few pistons. The template is populated with example pistons to show what can be accomplished. Please do not feel constrained or led in weird directions by these examples. Rearrange things to match your needs, preferences, and console limitations.

The example reflects a fantasy four-manual instrument with the following features (if you care to use them):
- 15 General Pistons, arranged in groups of 5 near the left of the top three manuals.
- 7 Divisional Pistons, in the center of each manual.
- 5 Pedal Divisional Pistons, near the left of the bottom manual.
- A Floating Division that can be coupled to each manual or the pedal.
- Pedal Couplers for any manual or the floating division to couple to the pedal.
- All manuals and the floating division couple “downward” (Manual IV to Manual II, Manual III or IV to Manual II)
- The bottom two manuals couple to each other in either direction, facilitating using the bottom manual as the Great in the French style, or using Manual II as the Great, depending on what VPO sample set/registration you’re working with.
- Sequencer forward pistons on all manuals, with one sequencer back piston on Manual II.
- Tremulant pistons on all manuals.
- Set and General Cancel on Manual I
- Extras such as Zimbelstern, Tutti, and MIDI Panic. (You can relabel or copy these pistons for other purposes, such as “Chimes”, or “Pedal Reed”, whatever you need.)
Potential Gotchas
Here’s a few things to watch out for:
- It’s possible to accidentally move grid lines around. Be sure to lock those layers, and if you’re using Photoshop’s own guide lines, make sure “lock guides” is set.
- This template is designed for a total keyboard width of 33 inches. This width is typical on many synthesizer keyboards and on some purpose-built organ keyboards such as those by Fatar. However, other organ keyboards can sometimes be wider. If your keyboard varies by more than 1/8″ from this template, be careful as any mismatches between your design and the real-world keyboard may be visible to the naked eye.
- For pistons with 2 and 3 lines of text, I’ve chosen a fairly small font. This is about as small as you can legibly squeeze onto a piston. Consider abbreviations or symbols rather than tiny, complex phrases.
- Keep in mind the locations of your hardware for mounting the piston rails to your keyboards and/or key cheeks. Mark on the template where the mounting hardware will be located, so that you don’t locate a piston in the wrong place and create a conflict.
The Template File
Now that you’ve thoroughly read the instructions (nudge nudge), here’s the Photoshop file. This is Version 1.00. I welcome feedback and may refine it further over time.
Money Beg
If you’ve found this information to be useful, please consider making a small donation. Any amount is appreciated! Donations processed by PayPal.
Discussion and Suggestions
I’ve also posted this info over on The Organ Forum. If you’d like to suggest improvements or point out errors, you can do so there…
… or, you can contact me directly here using the Contact page.